
Add an extra page to your author website
Add an FAQ, a reading order or book club questions to your Indie Author Toolchest site with the Extra pages screen, and see where it appears in your menu.
By the end of this guide you will have an extra page on your author website, such as an FAQ, a reading order or questions for book clubs, with its own link in your site menu.
Your site already has your books, your bio and a sign-up form. An extra page holds anything else readers ask you about, so you can point to it instead of answering the same question by email.
Add a page
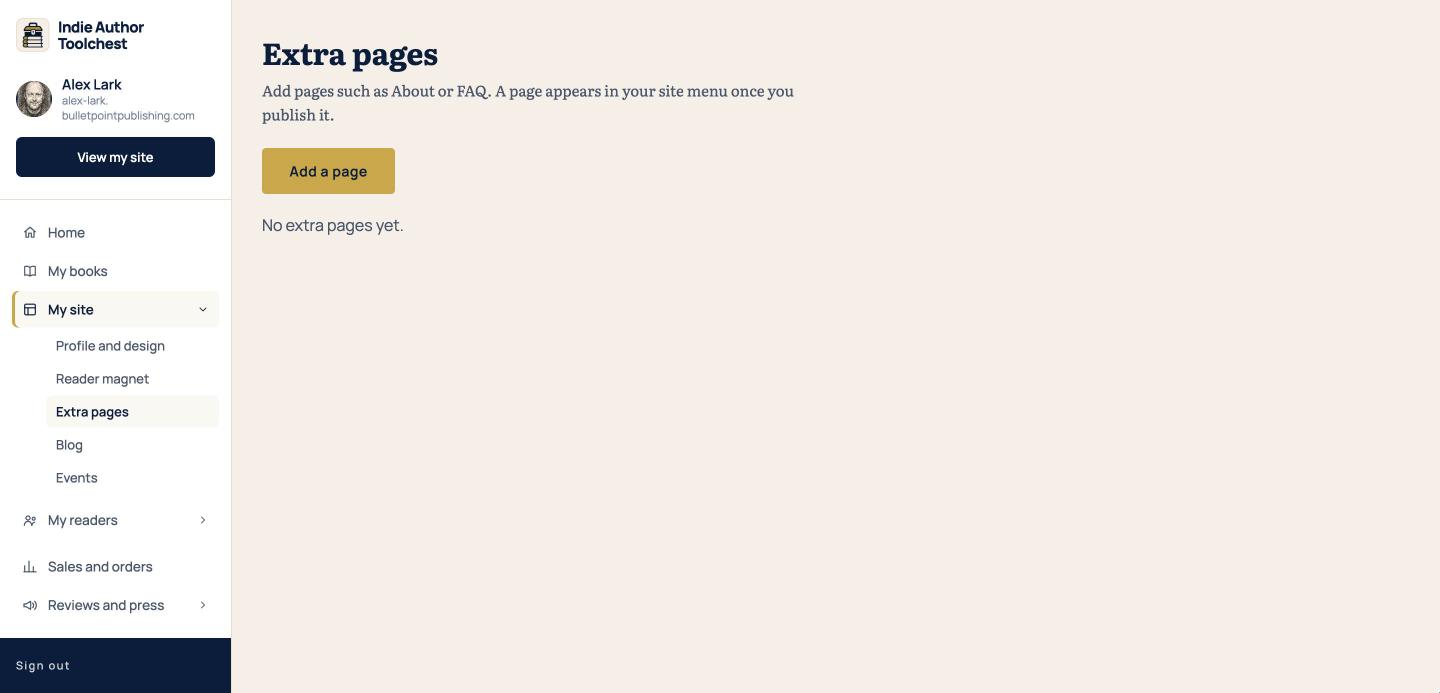
- In the dashboard menu, open My site and choose Extra pages.
- Click Add a page.
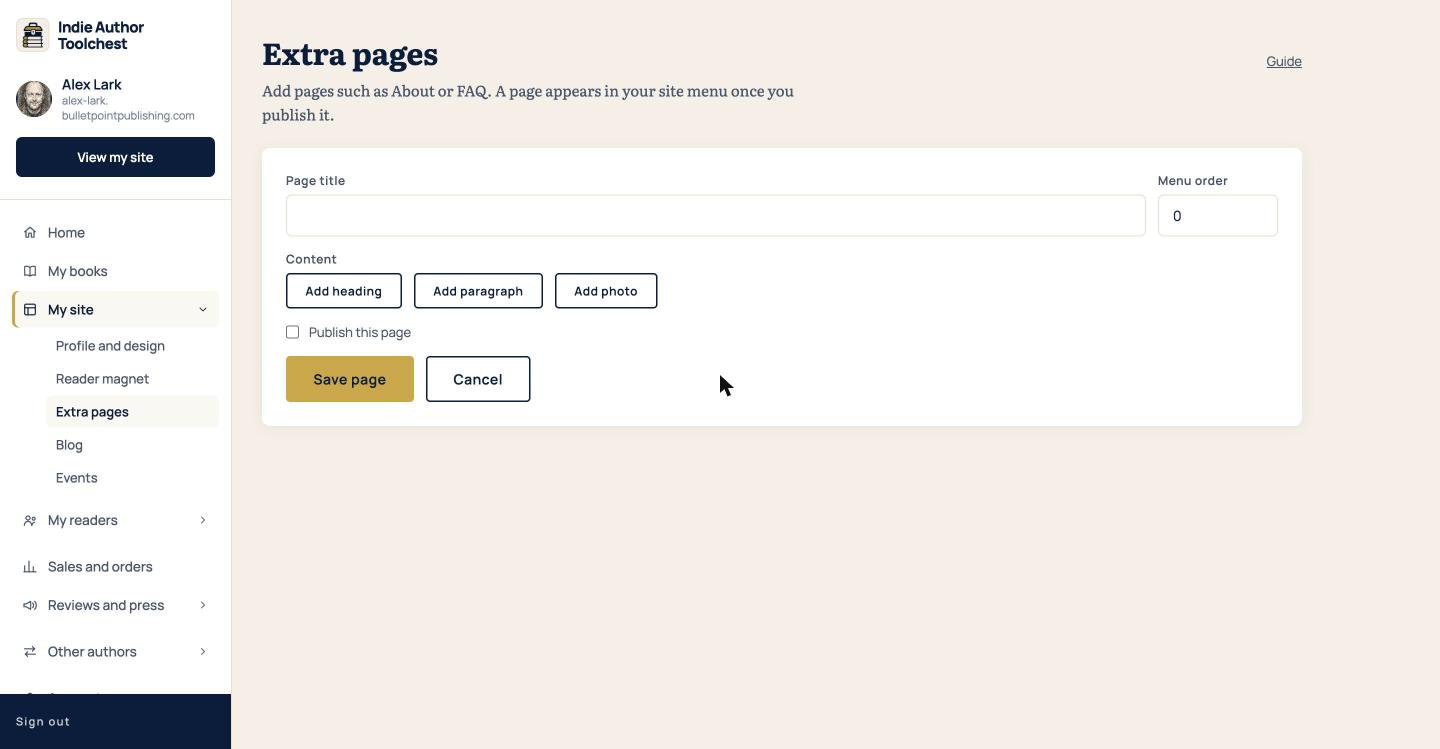
- Type a name in Page title, for example Reading order. The title becomes the page's link in your site menu.
Build the page from blocks
Under Content there are three buttons. Each one adds a block to the page, and the blocks appear on your site in the order they sit in the editor.
- Add heading adds a line of heading text.
- Add paragraph adds a box for a paragraph of text.
- Add photo adds an upload button and an optional caption.
Every block has Move up, Move down and Remove buttons beside it, so you can change your mind about the order at any point.
A reading order works well as a heading for each series, then a paragraph listing the books in order. An FAQ works as a heading for each question and a paragraph for each answer. Book club questions can be one heading and one paragraph per chapter.
Publish it
- Set Menu order if you have more than one extra page. Pages are listed from the lowest number up, so 1 comes first.
- Tick Publish this page. A page left unticked is saved as a draft that readers cannot see.
- Click Save page.
Your page now has its own address, yourname.bulletpointpublishing.com/p/ followed by the page name. To change it later, click Edit beside the page in the list. Delete removes it.
See it in your site menu
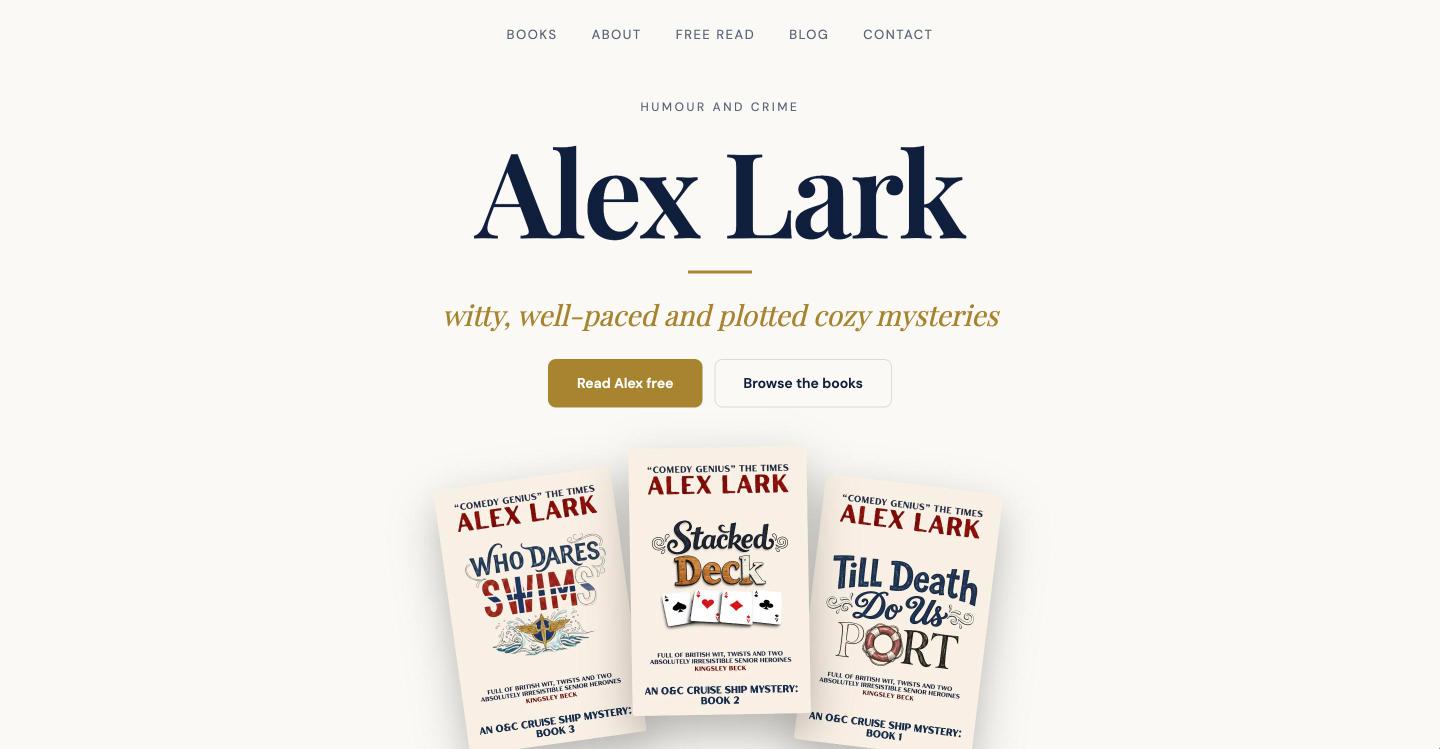
Click View my site at the top of the dashboard menu. Your menu runs along the top of the site.
With one published extra page, its title sits in the menu next to Contact. With two or more, the menu shows a More link that opens a list of them. On a phone, they appear in the menu that opens from the three lines.
Good to know
- Pages are built from headings, paragraphs and photos, so there is no other layout to learn.
- Extra pages work during your free trial. What you can do during your free trial lists what waits for a subscription.
Your next step
If you are deciding which pages are worth having, one book, six pages lists them. Then post news on your author blog so readers have something new to come back to.
You can try all of this free for 14 days, with no card: start at the Indie Author Toolchest.
Run it all from one place
Author page, direct sales, reader list, review copies and press kit, built from one ASIN. Free for 14 days, no card.
Start your free trial